Kava has a deep-rooted history as a ceremonial beverage across the South Pacific. Its calming properties and unique taste continue to attract both seasoned kava enthusiasts and those new to the experience. While creative methods have emerged in kava bars, the heart of kava culture remains in its traditional preparation. This guide walks you through time-tested steps for preparing kava root, whether you're serving guests at a kava bar or looking to recreate an authentic experience at home.
Why Traditional Kava Preparation Matters
Traditional kava preparation is more than just a recipe. It's a ritual that connects drinkers with the cultural heritage of kava. Each stage, from kneading the root to sharing the final bowl, encourages mindfulness and respect for kava's origins. For kava bars, using this method sets an authentic atmosphere, giving newcomers a memorable introduction and experienced drinkers the genuine taste they expect.
The ritual enhances the effects and flavors of the beverage. It also creates a sense of community, transforming the act of drinking kava into a shared experience. This authenticity is a major reason why traditional preparation has become a signature feature at many kava bars worldwide.
What You'll Need: Essential Tools and Ingredients
- Kava Root: Choose high-quality, noble kava root powder from a trusted supplier. Avoid tudei or non-noble varieties, as they may have less desirable effects.
- Water: Use cold or room temperature filtered water for best results. Hot water can damage the active ingredients and affect flavor.
- Strainer Bag: A muslin cloth, fine cheesecloth, or specialized kava strainer bag is necessary for kneading and straining the kava.
- Large Bowl: Use a clean, sturdy bowl or bucket for mixing and kneading.
- Cups or Shells: Traditional coconut shells add cultural flair, but any cup will work for serving.
Step-by-Step Traditional Kava Preparation
- Measure Your Kava Root
For every 1 to 2 servings, use about 30 to 40 grams of noble kava powder. Adjust the amount based on how many people you're serving and how strong you want the drink. - Add Water
Place the measured kava powder into your strainer bag. Add 500 to 700 milliliters of cold or room temperature water per serving. Too much water will dilute the drink, while too little can make it overly thick and strong. - Knead the Kava
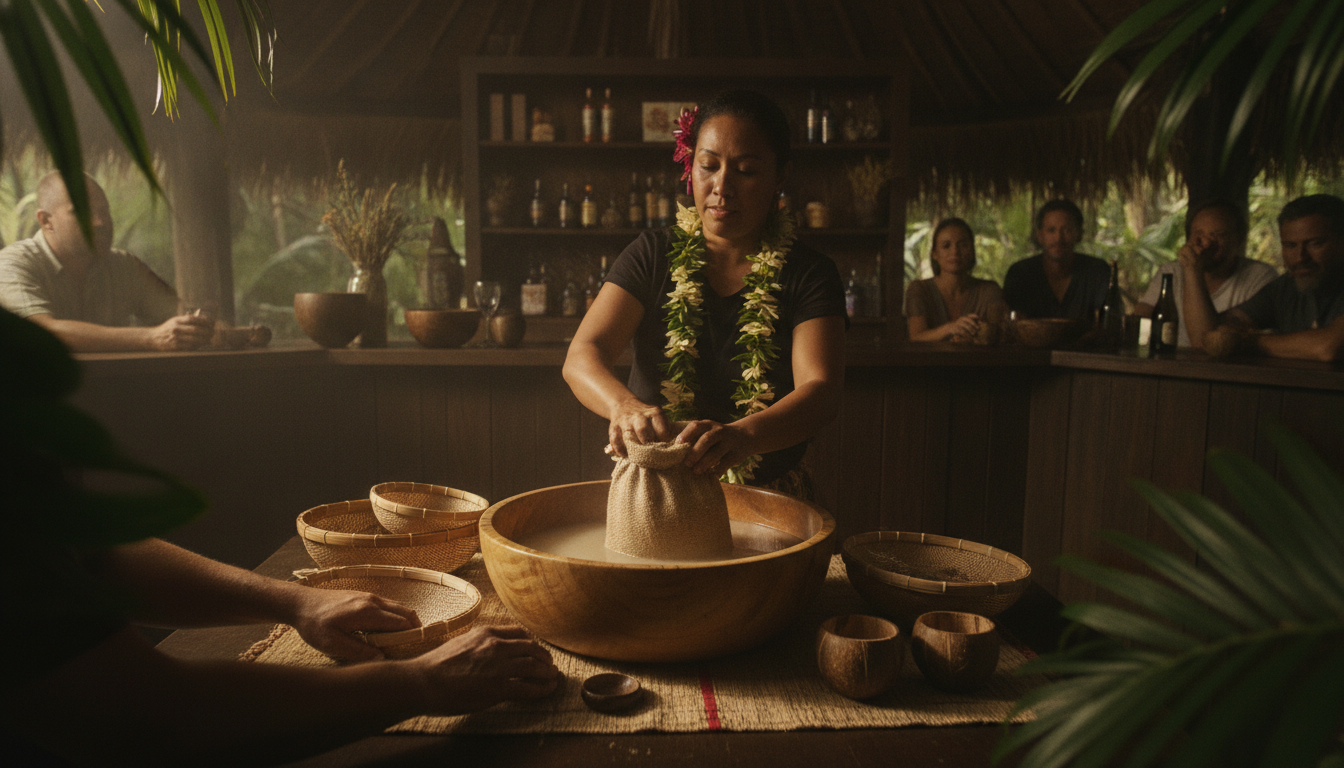
Submerge the strainer bag in the bowl of water. Begin kneading and squeezing the bag for 10 to 15 minutes. This hands-on process extracts kavalactones and flavor from the root. The liquid should become opaque and take on an earthy brown color. Kneading too briefly results in a weak beverage. - Strain and Serve
Once kneading is complete, squeeze out the remaining liquid from the strainer bag. Discard the spent kava. Pour the finished kava into cups or coconut shells. The beverage is ready to share and enjoy.
Expert Tips for Better Kava
- Select Noble Kava: Always use noble kava strains for reliable effects and smoother taste.
- Water Quality: Filtered or spring water can make a noticeable difference in taste and clarity.
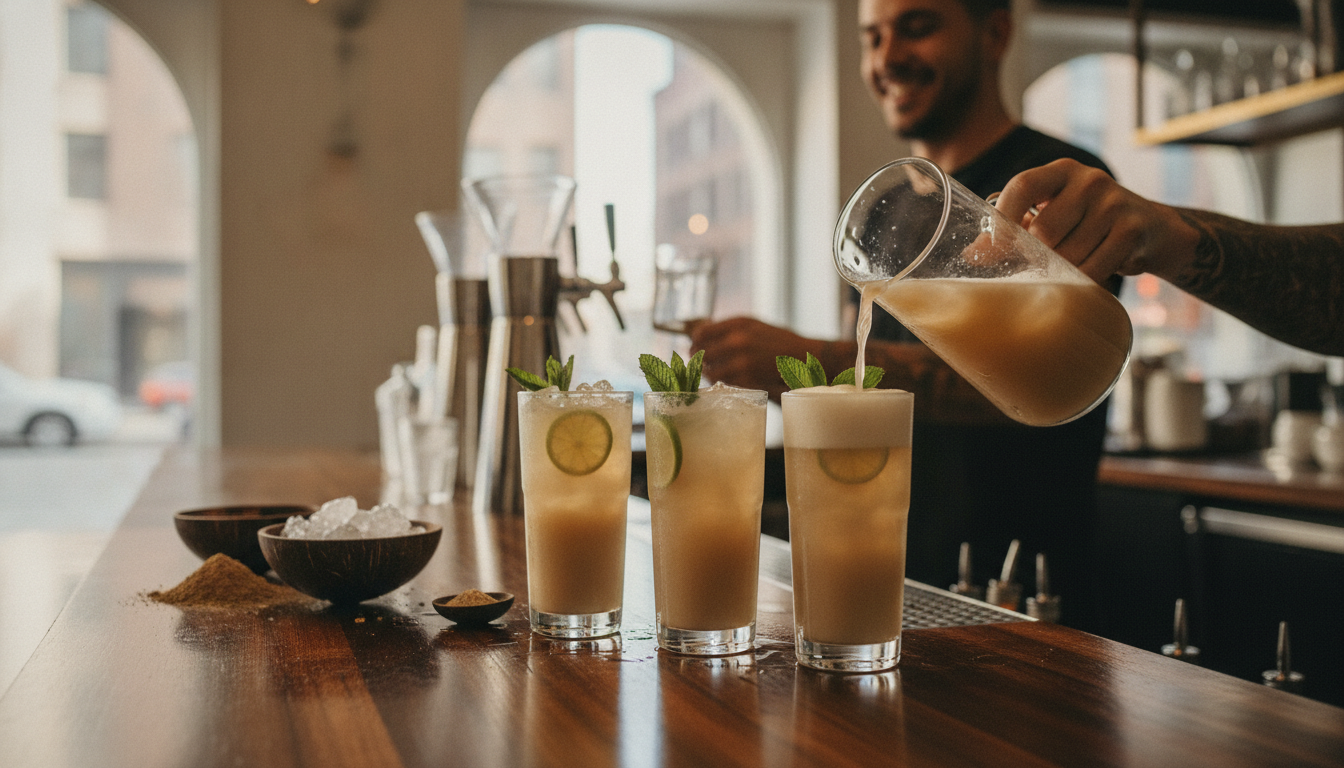
- Chill Before Serving: Kava is traditionally consumed at room temperature, but chilling the final beverage is a refreshing twist, especially in warm climates or busy kava bars.
- Emphasize Group Ritual: Preparing and serving kava as a group strengthens bonds and makes the experience more enjoyable for everyone present.
- Take Your Time Kneading: Rushing reduces extraction. Dedicate a full 10 to 15 minutes for kneading to get the best flavor and effects.
Why Kava Bars Stick With Traditional Methods
Kava bars value traditional preparation for its authenticity and educational value. The process often happens in view of customers, allowing them to watch the transformation from powdered root to drink. This not only reassures guests of the beverage's freshness but also connects them with kava's cultural traditions.
Some kava bars use mechanical aids to handle large crowds, but many still rely on manual kneading for small batches or ceremonial servings. Demonstrating the traditional process can set a kava bar apart, offering a unique and memorable customer experience.
Modern Adaptations and Creative Variations
While the time-honored steps remain the foundation, today's kava bars sometimes add their own twist. Food-grade mixers or kneading machines may be used during busy periods, but many establishments keep manual kneading for special events or educational sessions.
Some bars blend kava with coconut milk for a creamier profile, or offer lightly sweetened options for guests who prefer a milder taste. However, many regulars still prefer the unflavored, earthy style of traditional kava. Experimentation is welcome, but the core ritual remains respected in most settings.
Storing and Serving Tips
Kava tastes best when fresh, but you can store leftovers in a sealed container in the refrigerator for up to two days. Sediment will settle, so be sure to stir or shake before serving. Do not freeze kava, as this can change its consistency and reduce potency.
Coconut shells make traditional serving easy, but modern cups work well for casual gatherings or high-volume kava bars. Always serve kava in small amounts and encourage guests to sip slowly for the full effect.
Common Pitfalls To Avoid
- Using Hot Water: Never use hot or boiling water, as it destroys kavalactones and results in a less effective drink.
- Insufficient Kneading: Brief kneading does not extract enough flavor or active compounds.
- Poor Quality Root: Low-quality or improperly sourced kava root can lead to disappointing results and unwanted side effects.
- Improper Straining: Failing to strain thoroughly leaves sediment and grittiness in the final beverage.
Honoring Tradition With Every Bowl
Mastering traditional kava preparation is about more than technique. It's a way to connect with the drink's history and share a unique experience with friends, family, or patrons. Whether you operate a kava bar or enjoy kava at home, focusing on the classic steps of measuring, kneading, straining, and serving noble kava keeps the tradition alive and ensures a satisfying experience every time.
By sticking to these practices, you not only get the most out of your kava but also help keep kava culture thriving for future generations.